
Capturing a screenshot of your laptop screen is an essential skill for many users, whether it’s to share important information, record meaningful moments, or even troubleshoot technical issues. In this step-by-step guide on how to take a screenshot on a laptop, you’ll learn simple and effective methods for capturing screenshots of your laptop screen, allowing you to capture important moments and share them with ease.
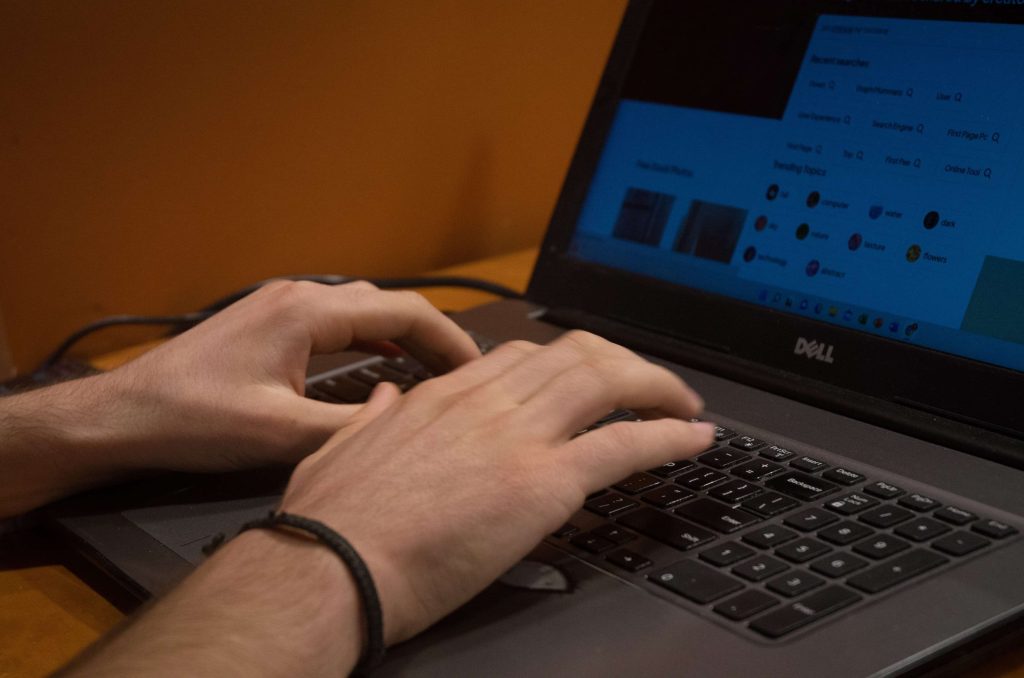
How to Take Print on Notebook – Step by Step
Taking a screenshot of your laptop screen is easier than you might think. Follow this step-by-step guide to learn how to do it quickly and easily.
1. Use the Print Screen Key
The most common way to take a screenshot on a laptop is to use the “Print Screen” or “PrtSc” key on your keyboard. Follow the steps below to take a screenshot using this key:
- Open the screen or window you want to capture.
- Locate the “Print Screen” or “PrtSc” key on your keyboard. It’s usually located in the upper right corner of the keyboard.
- Press the “Print Screen” or “PrtSc” key. This will capture a screenshot of your entire screen.
- Open an image editing program, such as Paint, for example.
- Paste the captured image by pressing “Ctrl” + “V” keys.
- Save the file with the desired name and appropriate extension, such as JPEG or PNG.
2. Use the Key Combination “Alt + Print Screen”
If you want to capture only the active window instead of the entire screen, you can use the “Alt + Print Screen” key combination. Follow the steps below to take a screenshot of the active window:
- Open the window you want to capture.
- Make sure the window is selected and in focus.
- Press “Alt” + “Print Screen” keys. This will capture only the active window.
- Open an image editing program, such as Paint.
- Paste the captured image by pressing “Ctrl” + “V” keys.
- Save the file with the desired name and appropriate extension.
3. Use Screen Capture Software
In addition to the above methods, you can also use screen capture software to take screenshots on your laptop. These programs offer advanced features like capturing selected areas, annotating, and even recording the screen. Here are some popular screen capture software options:
- Snagit
- Greenshot
- Lightshot
- ShareX
Research these programs and choose the one that best suits your screen capture needs.
Conclusion
Taking screenshots on your laptop is an important skill that allows you to record meaningful moments, share information, and troubleshoot technical issues. With the simple methods outlined in this step-by-step guide, you’ll be ready to take screenshots on your laptop in minutes. Experiment with the different methods and choose the one that best suits your needs. Now you’re ready to capture and share your important moments with ease!